


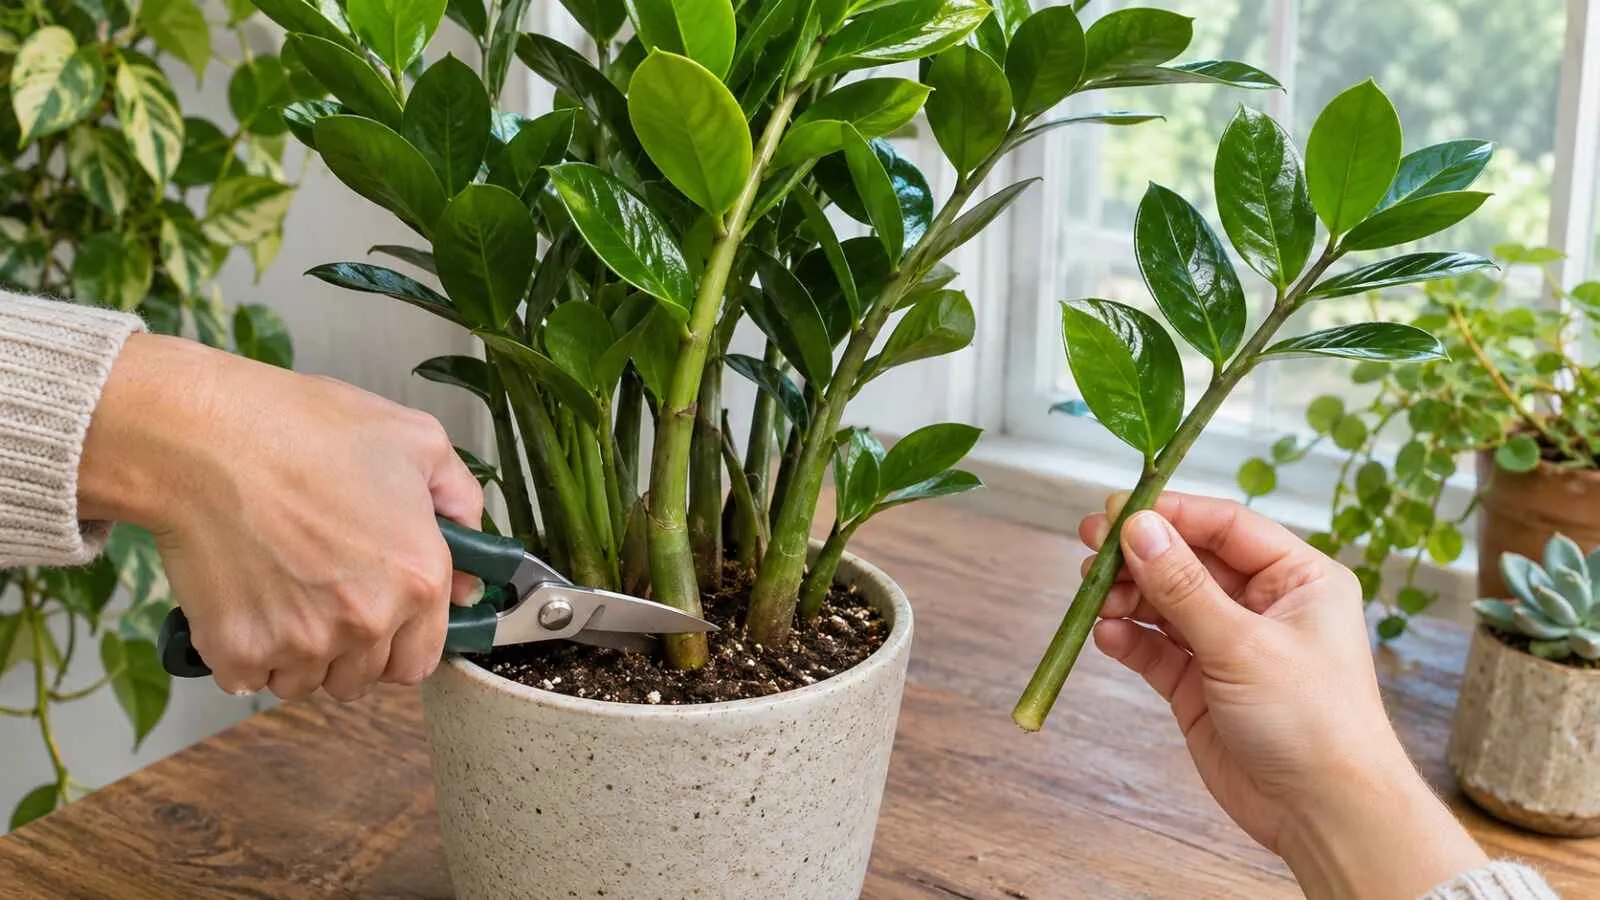
Learn how to divide a mature ZZ plant, root leaf and stalk cuttings in water or soil, and what realistic propagation timelines look like at home.
Knowing how to propagate a ZZ plant mostly comes down to knowing how long it takes. Division gives you a rooted plant right away. Cuttings work too, but each one has to grow a new underground rhizome before it can send up a shoot, and in a typical home that can take up to nine months. This guide covers each method step by step, plus the timelines extension sources actually report.
Quick answer: the best way to propagate a ZZ plant
- Fastest: divide a mature plant that has more than one healthy rhizome section. Illinois Extension calls division the most common and fastest method.
- If the plant is too small to divide: root a leaf cutting. The NC State Extension Plant Toolbox lists division and leaf cuttings as the recommended methods.
- Expect a long wait for cuttings: UConn Extension says small rhizomes can start forming in about a month in a greenhouse, but more typically it may take up to 9 months in a home.
- Keep leaf tissue on the cutting: in a University of Michigan study cited by Illinois Extension, a stem piece with no attached leaf did not callus or root.
ZZ Plant Propagation Methods at a Glance
| Method | Best for | What you need | What to expect |
|---|---|---|---|
| Division | A mature, crowded plant with several healthy sections | A section with its own rhizome and roots, ideally with a leafy shoot | A rooted plant right away; it may pause while it settles |
| Whole-leaf (stalk) cutting | Starting a plant without digging up the parent, or saving a broken stalk | One healthy leafy stalk | Roots first, then a rhizome, then eventually a new shoot |
| Leaflet cutting | Making several starts from one stalk | Healthy leaflets with their short attached bases | Economical, but the slowest route |
Why ZZ plant cuttings take so long
A ZZ plant (Zamioculcas zamiifolia) grows from thick underground rhizomes. NC State describes the glossy, upright leaves as emerging directly from the rhizome. So a cutting has to build roots and a new rhizome before it can support a new shoot. It can be alive and developing below the surface while nothing seems to happen above it.
A note on terms: botanically, each feathery stalk is one compound leaf made of many leaflets, which is why extension sources say “leaf cutting.” Many houseplant guides call the same thing a stem or stalk cutting. In this article, a whole-leaf cutting is the entire stalk with its leaflets, and a leaflet cutting is a single leaflet with its short attached base.
Which method should you choose?
- Division if your plant has separate rhizome clusters and you want the quickest, most direct result.
- A whole-leaf cutting if you can spare one healthy stalk and don’t want to take the parent out of its pot.
- Leaflet cuttings if you want several starts from one stalk and don’t mind waiting.
If the parent plant is unhealthy, recently overwatered or showing pest damage, improve its condition first. Our ZZ plant profile covers general care.
What you’ll need
- Clean, sharp scissors, snips or a knife
- A clean pot with drainage holes for each division or soil-rooted cutting
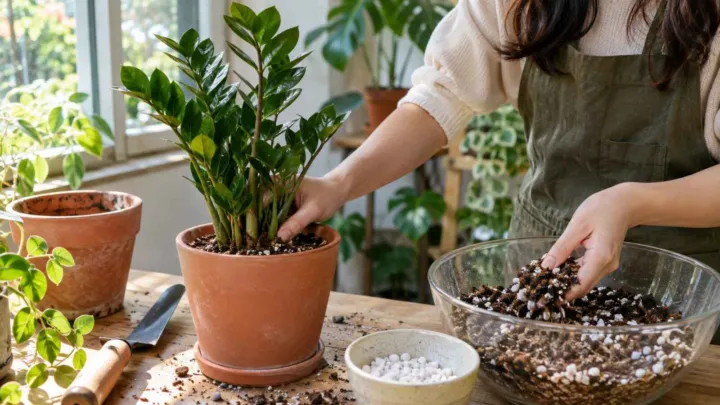
- A well-draining mix (see our guide to the best soil for a ZZ plant)
- A clean jar or shallow container if you want to root in water
- A warm spot with bright, indirect light
Method 1: Divide a mature ZZ plant
Each division keeps part of the parent’s rhizome and roots, so it is already a rooted plant. Don’t split a small plant just to get more pieces. Each section needs enough roots to support itself, as Illinois Extension advises.
- Prepare the pots. Have clean pots with drainage holes and fresh, well-draining mix ready.
- Remove the plant. Tip the pot and ease out the root ball. Loosen the soil gently until you can see how the rhizomes and roots connect.
- Find a natural division. Look for a healthy section with its own rhizome, roots and at least one stem. Separate tangled roots slowly by hand.
- Cut only if needed. If a section won’t come apart by hand, cut the connecting rhizome with a clean, sharp blade. Avoid breaking one healthy cluster into several tiny pieces.
- Pot each section. Set the rhizome and roots into fresh mix at about the depth they grew before, and firm the mix gently.
- Water lightly and place the pot in bright, indirect light. UF/IFAS Extension notes that the tuber-like rhizomes can simply be separated and potted.
Method 2: Root a whole-leaf (stalk) cutting
This works when the parent is too small to divide or when a healthy stalk has broken. UConn describes rooting whole leaves in moist, soilless potting medium.
- Choose a healthy, firm stalk with its leaflets and cut it cleanly near the base.
- Let the cut end dry. UConn says a few hours is enough to let the cut callus over, while Illinois Extension suggests a few days. Either way, don’t plant a wet cut.
- Push the cut end part way into moist potting medium, or stand it in a little water so only the bottom touches.
- Keep it in bright, indirect light and warm conditions, away from direct sun and cold drafts.
- Keep the medium moist but not soggy, or keep the water fresh.
- If you started in water, move the cutting into potting mix once roots and a small rhizome have formed.
Roots are an early stage, not the finish line. The cutting still needs a rhizome before it can produce a shoot.
Method 3: Start individual leaflets
Leaflet cuttings use less of the parent plant but go through the same slow rhizome-building process. UF/IFAS describes inserting single leaflets into a moist potting medium.
- Select firm, healthy leaflets.
- Cut each leaflet from the stalk, keeping its short attached base (the petiole) intact.
- Let the cut ends dry for a few days.
- Insert the base about one-half inch into clean, moist potting medium, or place it in a shallow container of water.
- Set the cuttings in bright, indirect light in a warm spot, and keep the mix moist or the water fresh.
Illinois Extension also cites a University of Michigan study in which apical leaf cuttings produced more new rhizomes than other leaf-cutting methods.
Water or soil: which is better?
Both work. Illinois Extension describes rooting leaf cuttings in moist potting medium or a shallow container of water.
| Factor | Water | Potting mix |
|---|---|---|
| Advantage | Easy to see roots and rhizome forming. | No later move from water to soil. |
| Watch out for | Keep the water fresh; move to soil once roots and a rhizome form. | Keep it moist, never saturated. |
Whichever you choose, check on the cutting without pulling it out repeatedly. Disturbing a young rhizome can set it back.
How long does ZZ plant propagation take?
There’s no dependable day-by-day schedule for a home cutting. Extension sources separate rhizome formation from visible new growth:
| Stage | Realistic expectation |
|---|---|
| Division | A rooted section as soon as you pot it. In UF/IFAS greenhouse production, planted rhizomes took 8 to 12 months to reach marketable size, so don’t expect a full-looking plant quickly. |
| Rhizome forming (greenhouse) | About a month, per UConn. |
| Rhizome forming (typical home) | Up to 9 months, per UConn. |
| First new shoot from a cutting | After the rhizome has formed. No source we checked gives a date, so expect it to come later than the rhizome stage. |
reenhouses offer controlled warmth, light and humidity, so those figures aren’t a promise for a windowsill. UF/IFAS also notes that ZZ grows slowly even under the most ideal conditions. If you see shorter timelines elsewhere online, they usually describe roots appearing, not a new shoot.
Related care guides for ZZ Plant
Warmth, light and humidity
- Warmth: Illinois Extension says cuttings do best with air temperatures near 80°F and relatively high humidity. UF/IFAS used 75 to 85°F for leaflet cuttings in a greenhouse. UConn notes that ZZ plants grow faster at warmer temperatures. Spring and summer are therefore usually easier simply because rooms are warmer and brighter.
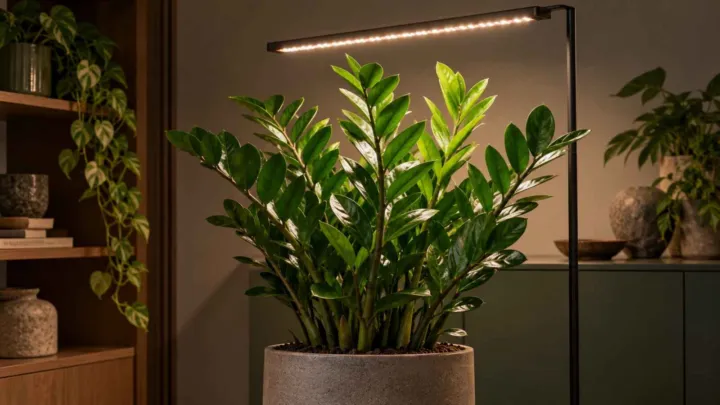
- Light: bright, indirect light, not direct sun. ZZ plants tolerate low light, but growth is slower there. Our ZZ plant low-light guide explains the difference between surviving and growing.
- Humidity: if your home is very dry, a loosely covered clear container can help hold humidity (a common practice, not from the sources above). Open it often for fresh air.
Potting up and aftercare
Move a water-rooted cutting into a small pot of well-draining mix once roots and a rhizome have formed. Use a pot with drainage holes, and size up modestly as it grows; our soil guide has the details on pot size and drainage.
Keep a cutting’s medium moist while it roots. Once a plant is established, let the mix dry between waterings, because the fleshy rhizomes store water and can rot when kept wet. See our ZZ plant watering guide. Don’t fertilize a young cutting to speed it up. Let it build roots and a rhizome first.
Troubleshooting
- Mushy, dark or foul-smelling cutting: remove it from the water or mix, trim off damaged tissue with a clean tool if firm, healthy tissue remains, and restart in a clean container or fresh medium.
- Firm but no growth: a firm cutting with no visible change for a few weeks is not a failure. The rhizome stage can take months.
- Yellowing: yellow leaflets alone don’t prove a problem. Check firmness and moisture first; our yellow leaves guide walks through the checks.
Common ZZ propagation mistakes
- Dividing a plant with only one small rhizome cluster. There may not be enough roots for several viable divisions.
- Using a leafless stalk piece. Keep healthy leaf tissue attached.
- Keeping the medium saturated. Cuttings need moisture, not standing water.
- Expecting a shoot as soon as roots appear. Roots, rhizome and shoot are separate stages.
- Assuming a greenhouse schedule applies at home.
Safety: pets and children
ZZ plants contain calcium oxalate crystals, which UConn says can be extremely painful to soft tissues in the mouth and throat. NC State rates the plant’s toxicity as medium and lists it as a problem for cats and dogs. Keep cuttings and trimmings away from children and pets, and see our ZZ plant pet-safety guide for what to do if a pet chews the plant.
Frequently asked questions
What is the fastest way to propagate a ZZ plant?
Division, when the parent has a healthy rhizome cluster whose roots can be separated. Cuttings start from less developed material and take longer.
Can you propagate a ZZ plant from one leaf?
Yes. A healthy leaflet with its attached base can form roots and a rhizome, then eventually a shoot. Expect a long wait; under typical household conditions, UConn says rhizome formation alone can take up to nine months.
Is it better to propagate a ZZ plant in water or soil?
Both work. Water lets you see progress, but the water must stay fresh and the cutting should move to potting mix once roots and a rhizome form. Potting mix avoids that later move but must stay moist, not soggy.
Can I propagate a ZZ plant from a broken stalk?
Yes, if it still has healthy leaflets attached. A bare, leafless piece of stalk is the one thing Illinois Extension says failed to callus or root.
Why does my cutting have roots but no new shoot?
Roots can appear before the rhizome and shoot. If the cutting is still firm and not rotting, keep up steady care.
Do I need rooting hormone?
The extension sources cited here don’t call for it, so it’s optional. Focus on warmth, light and keeping the medium moist but not wet.
Should I fertilize a new cutting?
No. Let it establish roots and a rhizome first.
The takeaway
If your ZZ plant is mature enough to divide, division gives you the most established new plant with the least waiting. Leaf and stalk cuttings are useful when you want to start from smaller pieces, but each one must build a rhizome before a shoot appears. Judge progress by the cutting’s condition and the stage it has reached, not by a short calendar deadline.