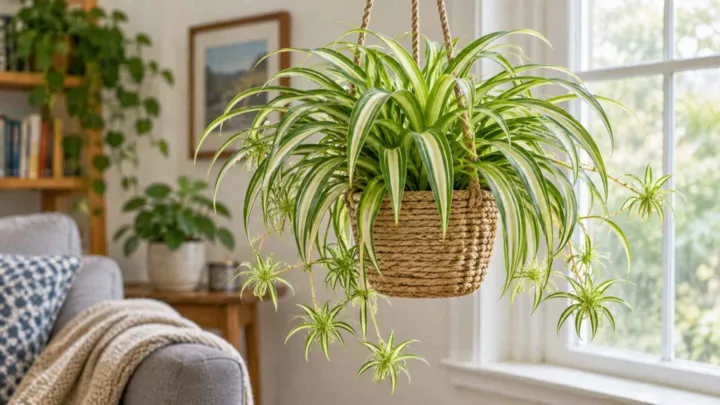
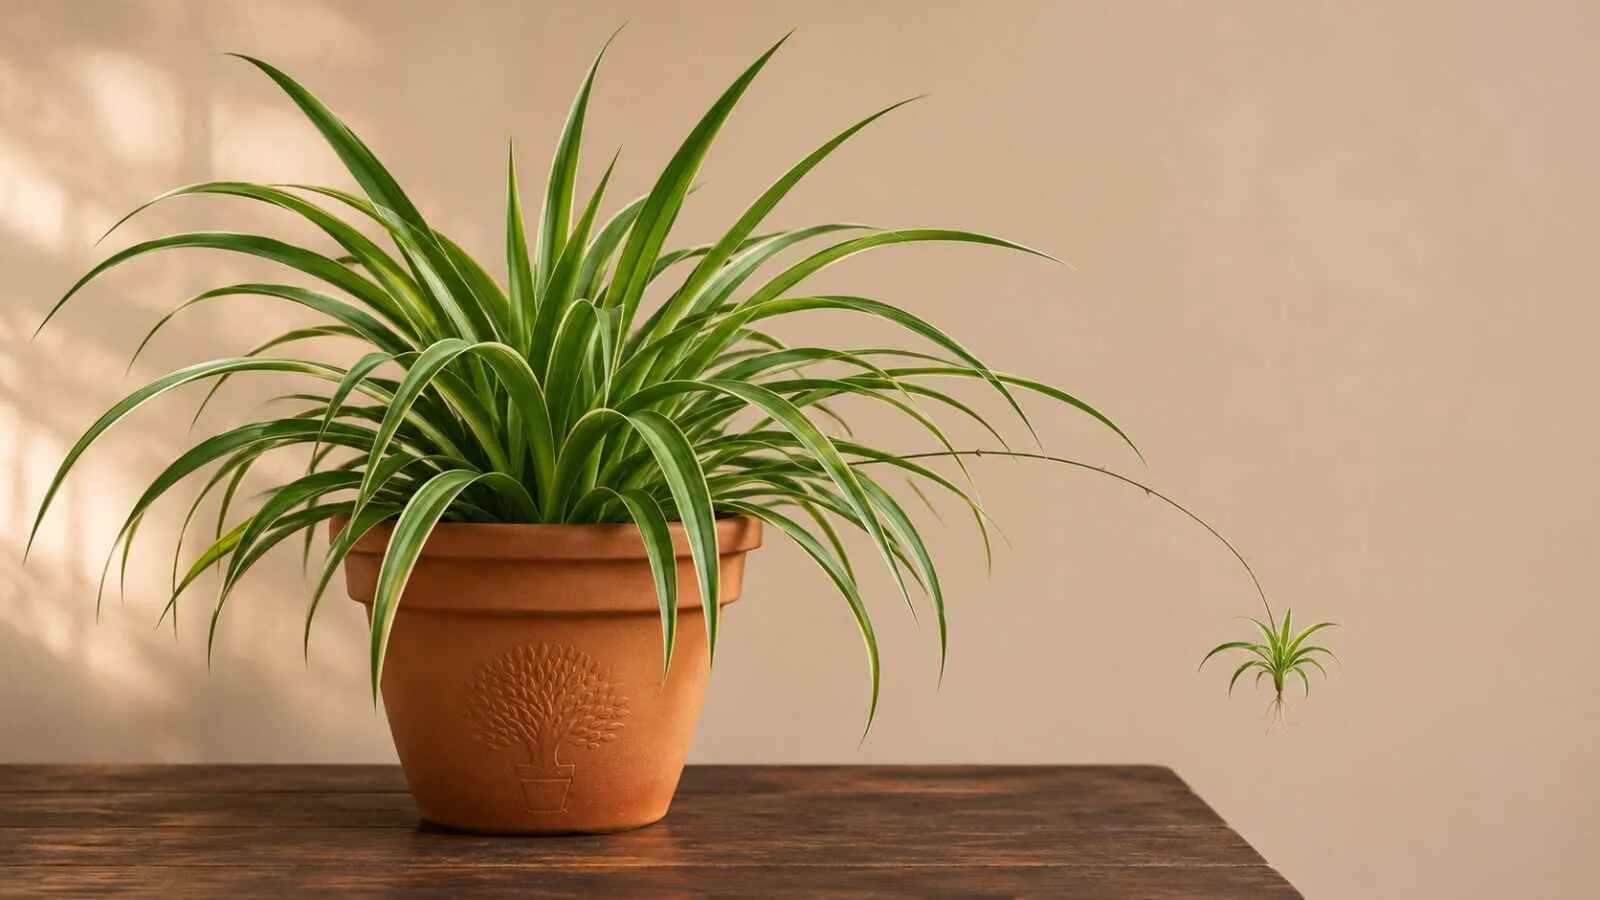
Spider plants make their own replacements. Mature plants send out long stems tipped with small plantlets, often called spiderettes or babies, and each one can grow into a full plant. This guide covers how to propagate a spider plant four ways: rooting a baby in soil while it’s still attached, potting a baby that already has roots, starting one in water, and dividing a crowded parent.
If your plant still needs help with light or watering, start with our spider plant care guide. A healthy parent produces stronger babies.
Which spider plant propagation method should you use?
| Method | Best for | Ready when |
|---|---|---|
| Attached plantlet in soil | Beginners who want the safest option | The baby resists a gentle tug, often around two months |
| Rooted plantlet potted directly | A baby that already shows roots | It stays upright and starts new leaves |
| Detached plantlet in water | Anyone who wants to watch roots form | Roots are about an inch long or longer |
| Division | A crowded mature plant, or one that makes few babies | Each piece has its own roots and a growing point |
Rooting a baby while it’s still attached is the most forgiving method. The parent keeps feeding it while new roots form, much like it would in the wild when a plantlet touches the ground. The New York Botanical Garden calls copying that natural process the most successful way to propagate spider plants at home.
When is the best time to propagate?
You can start new spider plants from plantlets at any time of year, according to Clemson Cooperative Extension. Warmth speeds things up, so a spot away from cold windows and drafts gives you the best results, especially in winter.
Your timing mostly depends on when babies appear. Plantlets form on the flower stems of mature plants, and NC State Extension explains that they develop after at least three weeks of short days with long, uninterrupted nights. That’s why many plants send out runners in fall and winter.
How to choose a good plantlet
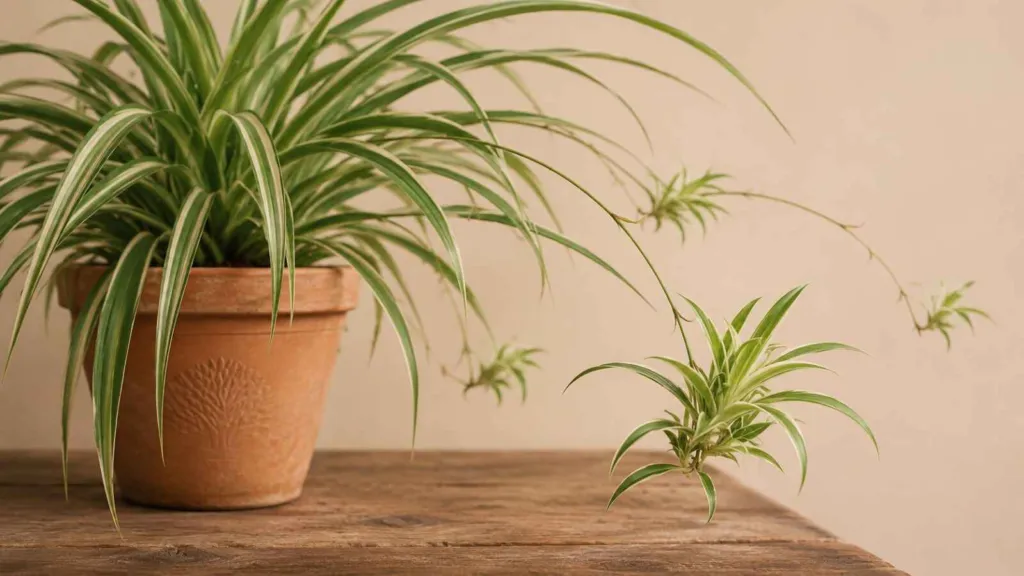
Not every baby is ready to leave home. Look for one with:
- Six or more leaves that are a few inches long
- Small root nubs or short roots at its base
- Firm, green leaves with no soft or brown spots at the base
NYBG uses this leaf count as a sign that a plantlet is mature enough to cut. Tiny babies with no root nubs can still work, but they root more slowly. Rooting them while attached is the safer choice.
Spider plant propagation in soil (while attached)
This method lets the baby root in its own pot before you cut it free. UW–Madison Extension recommends pinning the plantlet against the soil with a bent paper clip or wire until roots develop.
You’ll need: a small pot with a drainage hole, fresh houseplant potting mix, and a paper clip bent into a U shape.
- Fill the pot with potting mix and water it so the mix is evenly damp.
- Set the pot next to the parent so the runner reaches it without stretching.
- Rest the base of the plantlet on the mix, keeping its leaves above the surface.
- Pin the runner or base in place with the bent paper clip.
- Keep the mix lightly moist. Don’t let it dry out completely, and don’t let it stay soggy.
- Once the baby holds firm when you tug it gently, cut the runner with clean scissors.
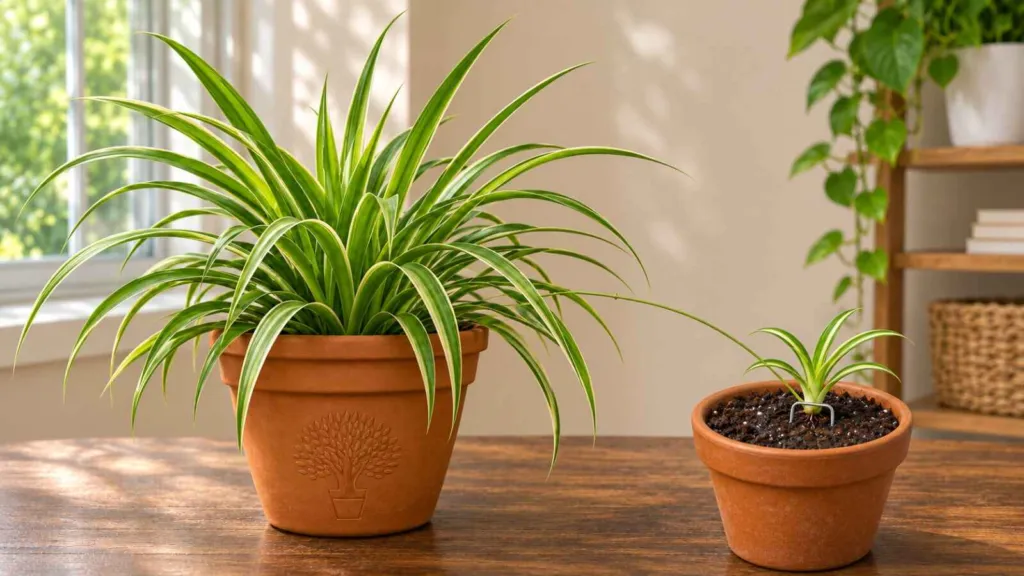
NYBG suggests allowing about two months before separating. Resist checking every few days, since tugging repeatedly can tear fragile new roots.
How to pot a rooted spider plant baby directly
If a plantlet already has visible roots, you can skip the waiting and plant it right away. Clemson recommends detaching plantlets once roots have formed and potting them straight into moist growing mix.
- Cut the runner close to the base of the plantlet.
- Fill a small pot with fresh, well-draining mix. Many growers use a 2- to 3-inch pot for a single baby.
- Make a shallow hole, set the roots in, and keep the leaves above the soil line.
- Firm the mix gently around the base.
- Water until excess drains from the bottom, then empty the saucer.
New roots are delicate, so handle the base carefully while backfilling.
Spider plant propagation in water
Water propagation lets you see exactly when roots appear. South Dakota State University Extension notes that a couple of weeks in water encourages more root growth before planting in soil.
- Cut a healthy plantlet from its runner with clean scissors.
- Remove one or two of the lowest leaves so they won’t sit in water.
- Place the base in a small glass or jar, with the water covering only the bottom of the plant.
- Set it in bright, indirect light, somewhere warm.
- Change the water whenever it looks cloudy.
- Pot the plantlet in fresh mix once the roots reach about an inch.
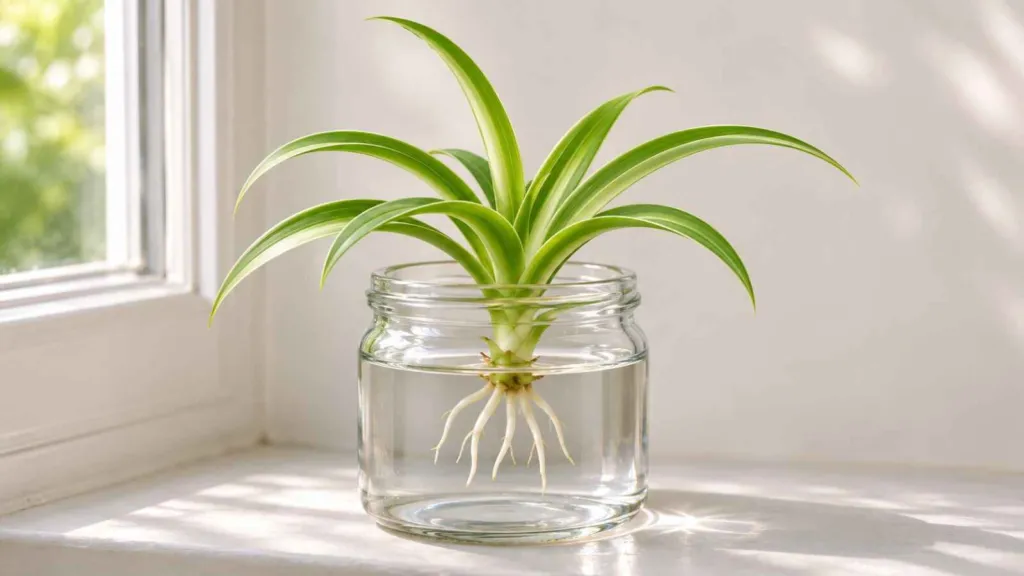
Use the right water. Spider plants can be sensitive to fluoride and other elements in tap water, according to NYBG. If you notice brown leaf tips on your rooting plantlet, switch to rainwater or distilled water.
How to divide a spider plant
Division works best for a mature plant with several crowns, or for a variety that rarely makes babies. The Royal Horticultural Society says each piece needs at least one growing point.
- Water the plant a day ahead if the mix is very dry. Moist roots separate more easily, which is common grower practice.
- Slide the plant out of its pot and loosen enough soil to see where the clumps meet.
- Pull the sections apart by hand. If the thick roots won’t separate, slice through the clump with a clean, sharp knife, as the RHS suggests.
- Make sure every section has healthy roots and at least one growing point.
- Pot each piece right away at the same depth it grew before.
- Water thoroughly and let the excess drain.
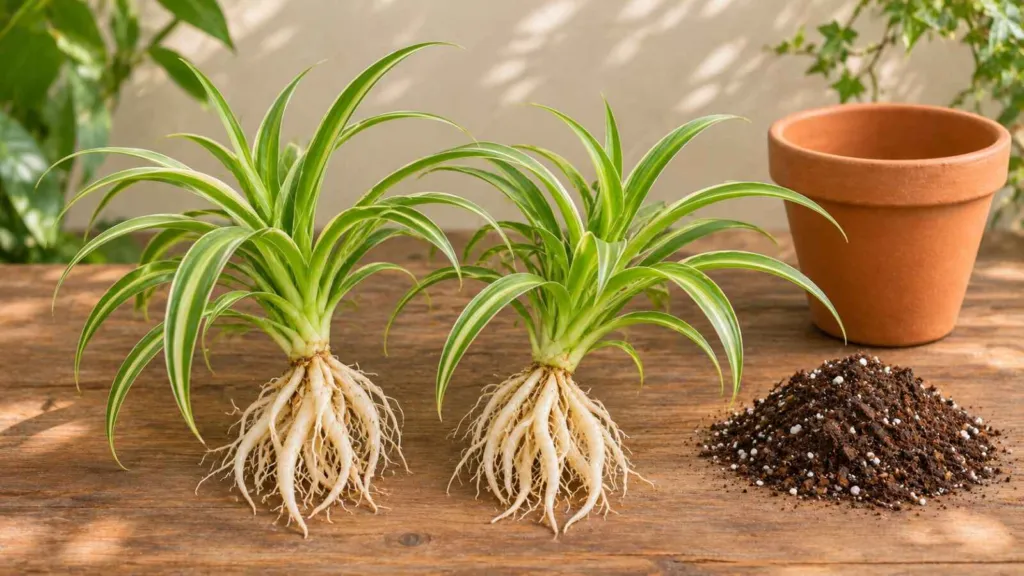
Illinois Extension advises repotting divisions immediately so the roots don’t dry out. Clemson recommends dividing before the plant’s thick, fleshy roots expand enough to crack the container, so a crowded pot is a good cue to divide.
Aftercare for new spider plants
Light. Place new plants in bright, indirect light. Harsh afternoon sun can scorch young leaves, while deep shade slows root growth.
Temperature. SDSU Extension lists 65 to 75°F during the day as a comfortable range. Keep young plants away from heating vents, air conditioners, and cold glass.
Watering. Water when the top of the mix begins to dry, then let it drain fully. UW–Madison warns that overwatering and poorly drained soil can lead to root rot, and new roots are especially vulnerable.
Fertilizer. Hold off for now. Clemson recommends waiting four to six months before feeding a newly potted spider plant.
You’ll know the plant has settled in when it starts producing new leaves from the center.
Troubleshooting spider plant propagation
The plantlet isn’t growing roots
Give it time, especially if it was cut before root nubs formed. Check that the base, not the leaves, touches the water or soil. For a cut plantlet with no roots at all, NYBG suggests dipping the base in rooting hormone and setting it in a damp, peat-based mix until roots form.
The base is soft, mushy, or brown
This usually means rot from soil that stays too wet. Trim off any mushy tissue with clean scissors and replant the healthy part in fresh mix. If the entire base is soft, the plantlet likely won’t recover. Our plant diagnostic tool can help you narrow down the cause.
The new plant droops after potting
Some drooping in the first few days is normal while roots adjust. If it lasts more than a week, check that the roots are fully covered and that the pot drains freely. Don’t try to fix wilting by keeping the soil soaked.
The leaf tips turn brown in water
This often points to minerals or fluoride in tap water. Switch to rainwater or distilled water and trim off the brown ends if you like.
The parent plant isn’t making babies
Most spider plants don’t produce plantlets until they’re at least a year old, according to the RHS. Low light, cool temperatures, and an oversized pot can also hold them back, and some varieties don’t produce babies at all. Division still works for those plants. For more causes, see why a spider plant isn’t making babies in our care guide.
Spider plant propagation FAQs
How do you root a spider plant?
Root a spider plant by placing a plantlet’s base in soil or water. The easiest way is to pin a baby onto a pot of moist mix while it’s still attached to the parent, then cut it free once it holds firm. You can also cut a plantlet and root it in a glass of water until the roots are about an inch long.
Is it better to propagate a spider plant in water or soil?
Both work well. Soil rooting while attached is the most reliable, while water rooting lets you watch progress. If a baby already has roots, plant it straight into soil.
When should I cut the babies off a spider plant?
For soil rooting, wait until the baby resists a gentle tug. For water rooting, cut once the plantlet has several leaves a few inches long and small root nubs at its base.
Can you propagate a spider plant without babies?
Yes. Divide a mature plant that has more than one crown. A young plant with a single crown and no babies needs more time to grow.
How long does spider plant propagation take?
Water-rooted plantlets often show roots within a couple of weeks. NYBG estimates about two months before a soil-rooted or water-rooted baby is ready for life in its own pot.
What to do next
Once your new plant is growing steadily, care for it like an adult spider plant. In a few months it may send out runners of its own. If you want to keep propagating, our plant propagation guides cover other easy houseplants, including snake plant propagation and ZZ plant propagation.