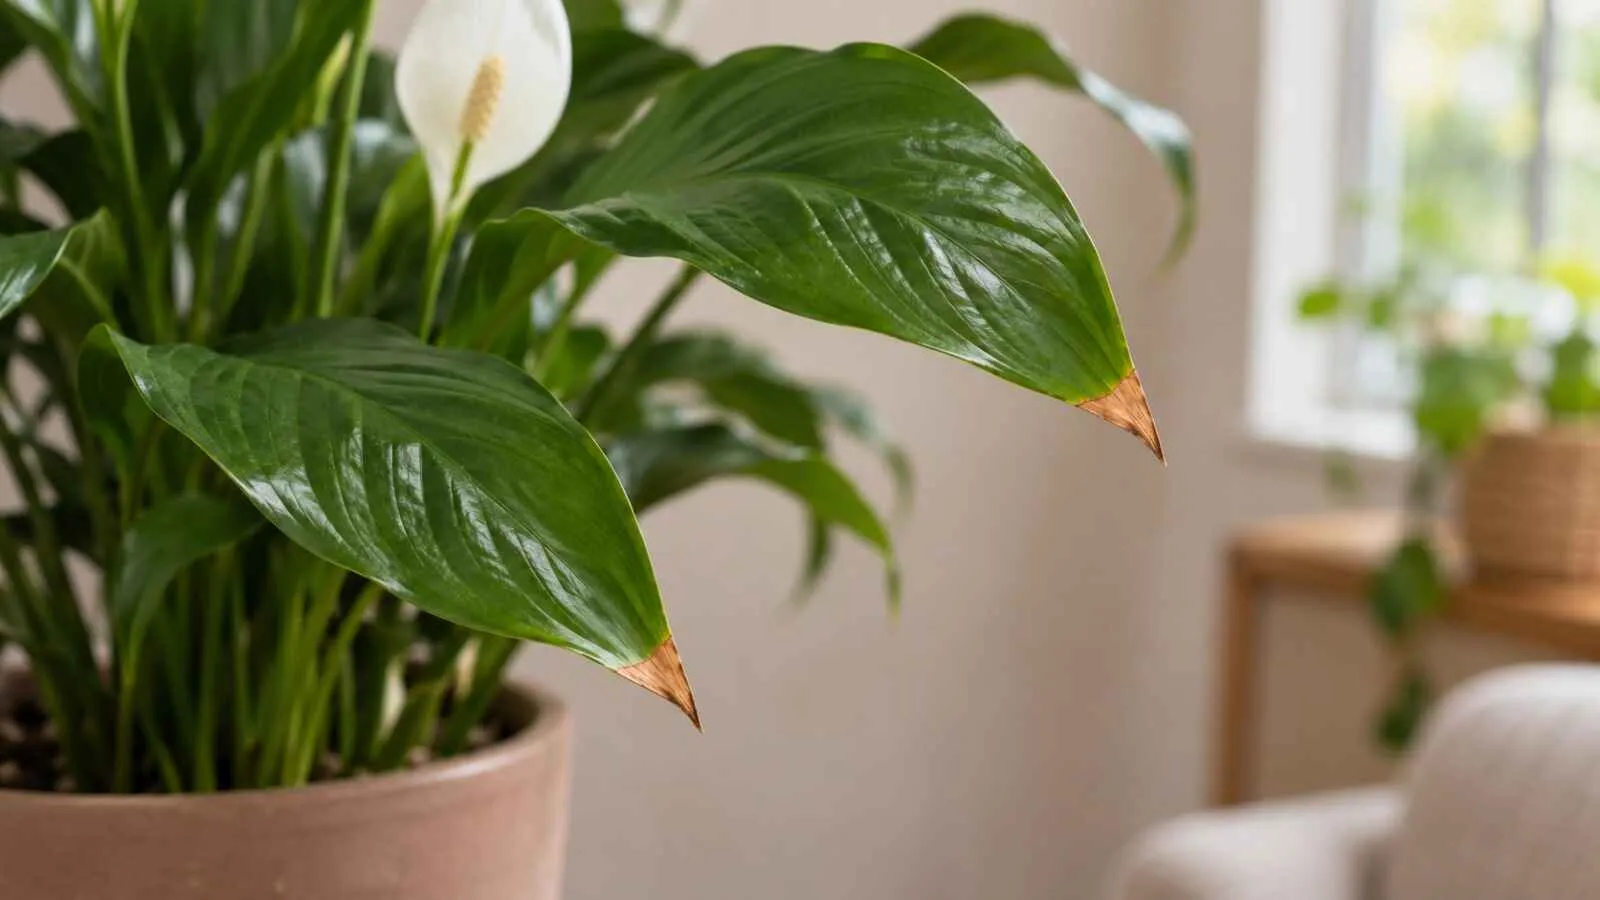
If your peace lily has brown tips, feel the potting mix and lift the pot before you reach for the watering can. A light pot with dry mix below the surface probably needs a good soak. If the pot feels heavy and the mix is still wet, hold off on watering. If it stays wet longer than usual, check the drainage holes and look for water trapped in the cover pot. Fertilizer, direct sun, and dry air can also leave the tips crisp.
Common causes of brown tips on a peace lily:
- Potting mix that dries out too far between waterings
- Soggy mix and damaged roots from poor drainage
- Too much fertilizer or a buildup of salts
- Direct sun hitting the leaves
- Dry air from a heating vent
- Softened water, or fluoride in tap water
NC State Extension ties peace lily brown tips to direct sun, underwatering, and low humidity, along with overfeeding and salt buildup. The checks below will help you figure out which one fits your plant.
Brown Tips, Brown Patches, or an Aging Flower?
This guide focuses on dry, pointed tips on mostly green leaves. Look over several leaves, including the newest one that has fully opened. Where the damage shows up can tell you where to look first.
| What you see | Where to start |
|---|---|
| Dry brown points on several green leaves | Check how often the mix dries out, whether water drains, and when you last fed the plant. |
| A pale or tan patch on the side facing the window | Check whether direct sun reaches those leaves, especially if you moved the plant recently. |
| Brown areas in the middle of the leaf, or spots that are spreading | Note where the spots started and whether they feel dry or soft. Our houseplant problem finder can help you sort out the pattern. |
| An older white “flower” fading while the leaves stay green | It’s likely a spent spathe, the leaflike hood around the flower spike. Our peace lily plant profile shows how to tell a spathe from a leaf. |
That last one fools a lot of people. An older spathe can fade to green as it ages, so a changing bloom is nothing to worry about.
Check the Pot Before You Water
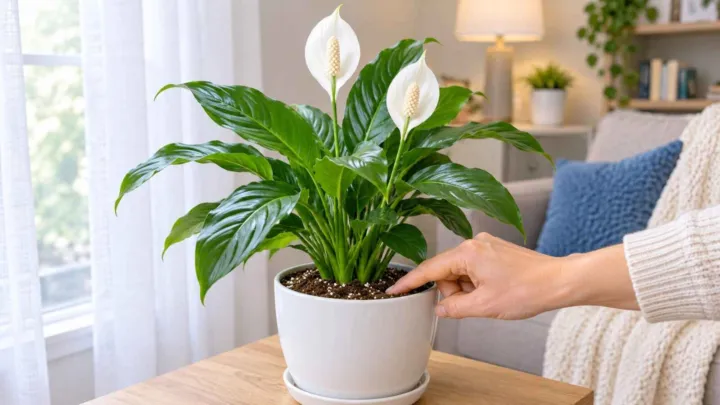
Lift the nursery pot out of its decorative cover, if it has one. Feel the mix an inch or so below the surface and notice how heavy the pot is. Then look underneath for standing water or blocked drainage holes.
A plant that dried out and a plant sitting in soggy mix can show the same crispy tips. The University of Maryland Extension’s diagnosis guide lists both lack of water and root rot as causes of browning leaves. That’s why the pot comes first.
The Mix Is Dry and the Pot Feels Light
Water slowly over the whole surface until it runs out of the drainage holes. Let the pot drain, then empty the saucer or cover pot.
Bone-dry mix can pull away from the sides of the pot, so water rushes straight through without soaking the roots. If that happens, Clemson Cooperative Extension suggests watering once and again half an hour later. You can also set the pot in a sink of water until the surface feels moist, then let it drain completely.
For the next few weeks, check the pot a little sooner than usual. A small pot can dry out fast after a move into brighter light or closer to a heat source.
The Mix Is Still Wet and the Pot Feels Heavy
Pour off any water in the saucer or cover pot and skip watering for now. If the plant is also wilting, or several leaves are yellowing while the mix stays wet, slide the root ball out and take a look. Healthy roots feel firm. Maryland Extension describes diseased roots as dark and soft.
If only the tips are brown and the plant otherwise looks sturdy, start by fixing the drainage and adjusting how often you water. If you find rotted roots, cut away the soft sections with clean scissors and repot the healthy part in fresh mix, in a pot with drainage holes. Don’t try to flush the mix until the pot drains well.
Think About What Changed
Once you know the pot drains and the roots aren’t drying out over and over, think back to when the tips started browning. A recent feeding, a move to a sunnier spot, or the furnace kicking on for the season often tells you more than the color does.
White Crust or Browning After Fertilizing
If the browning showed up after a strong dose of fertilizer, or several doses close together, stop feeding for now. Then look for a white crust on the surface of the mix or around the rim of the pot. A white crust can come from fertilizer salts or minerals in your water, according to the University of Maryland Extension, so check both your feeding routine and your water source.
If salt buildup is likely and the pot drains freely, wait until the plant is due for watering. Then pour low-mineral water through the mix, using at least three times the pot’s volume, and let it drain fully. If the mix is still soggy, check the drainage first. For a small pot with heavy buildup, it’s simpler to replace the mix. Go back to light feeding once the plant is growing well again.
Patches on the Leaves Facing the Window
If most of the damage is on the window side, watch that spot when the sun is strongest. A patch that starts pale, then turns tan and brittle after a move to a brighter window, points to sunburn. Hang a sheer curtain or move the plant back into bright, indirect light.
Crispy Tips Near a Heater, Vent, or Cold Window
Hold your hand near the leaves and feel for moving air. If they sit in the path of a heating vent, move the pot out of the airflow but keep it in good light, then see how fast the mix dries in its new spot. If the whole room is dry, Maryland Extension suggests a humidifier or grouping plants together, and notes that misting may not raise humidity much.
Cold can damage the leaves too. Clemson’s peace lily fact sheet recommends keeping the plant above 60°F, so pull it back if its leaves touch a cold window in winter.
Related care guides for Peace Lily Scientific Name and Plant Identification
Is Tap Water Causing the Brown Tips?
First, find out whether your water runs through a salt-based softener. If it does, use an unsoftened tap or another source. Clemson advises against softened water because it adds sodium and chloride to the mix. Fluoride is another suspect, since the Royal Horticultural Society notes it can damage peace lily leaves.
If the light, moisture, drainage, and feeding all seem fine and new tips keep browning, switch to distilled water or rainwater for a while and keep everything else the same. Then watch the next few leaves. Old brown tips won’t turn green again. Look for damage that stops spreading and new leaves that open with healthy tips.
Should You Cut Brown Tips Off a Peace Lily?
Yes, if you don’t like the look. Use clean, sharp scissors and follow the natural shape of the leaf, leaving the green tissue in place. A leaf that’s mostly green can stay on the plant. If an old spathe is browning and its stalk is done, cut the stalk off near the base. Wear gloves while you trim, because the RHS warns that peace lily sap can irritate skin.
Before you change anything, snap a photo of the damaged leaves. Compare it with the plant every time you check the soil. You’ll know things are improving when the damage stops spreading and new leaves come in with clean tips. Once the plant settles down, our peace lily care guide can help you build a routine that fits your home.
Frequently Asked Questions
Why Are the Tips on My Peace Lily Leaves Turning Black?
Feel them first. Dry, crisp black tips call for the same checks as brown ones: moisture, light, and fertilizer. If the dark area is soft and spreading, and the plant wilts while the mix stays wet, check the roots and drainage right away. The color alone won’t tell you the cause.
Does a Peace Lily With Brown Tips Need a Bigger Pot?
Not necessarily. Check the roots before you move up a size. The RHS notes that mix drying out very quickly after watering can mean the plant is rootbound. If the roots are packed and circling the pot, repotting may help. If there’s plenty of mix around them and it stays wet, look at drainage instead.
Will Brown Tips on a Peace Lily Turn Green Again?
No. Brown tissue is dead, so trim it if it bothers you. After you fix the cause, look for damage that stops spreading and new leaves that open with healthy tips.